通过一个SpringMVC的案例加以说明。
1.打开按钮是什么事件(前端页面)
enctype不能丢。
引入相关库:
2.异步提交ajax是怎么把图片上传到后台服务器的(JS代码)
3.配置springmvc支持上传图片功能
4.搭建一个图片服务器
复制一份tomcat,在tomcat/conf/web.xml中内容如下更改,使其可读写。
default org.apache.catalina.servlets.DefaultServlet debug 0 readonly false listings false 1
在tomcat/conf/server.xml进行3个端口的修改。

在这里可能会遇到第二台修改端口不生效的情况,建议参看另一篇博客:
5.发送此图片到另外一台服务器
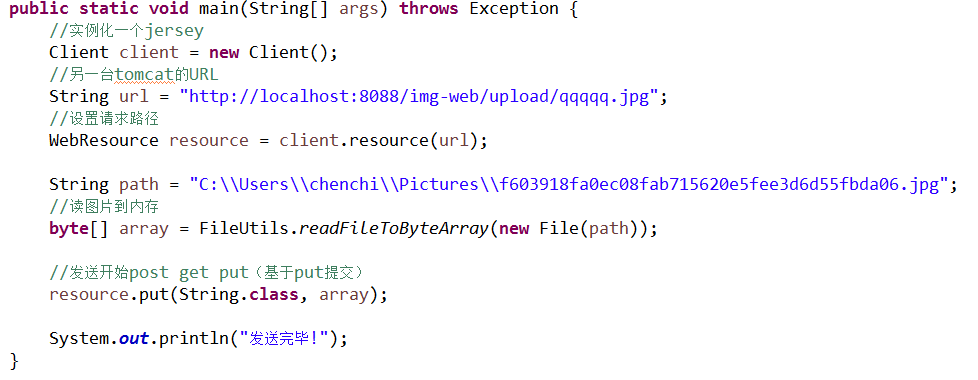
利用jersey进行发送。首先我们看一下jersey的一个demo。
程序用到3个jar包,如下:


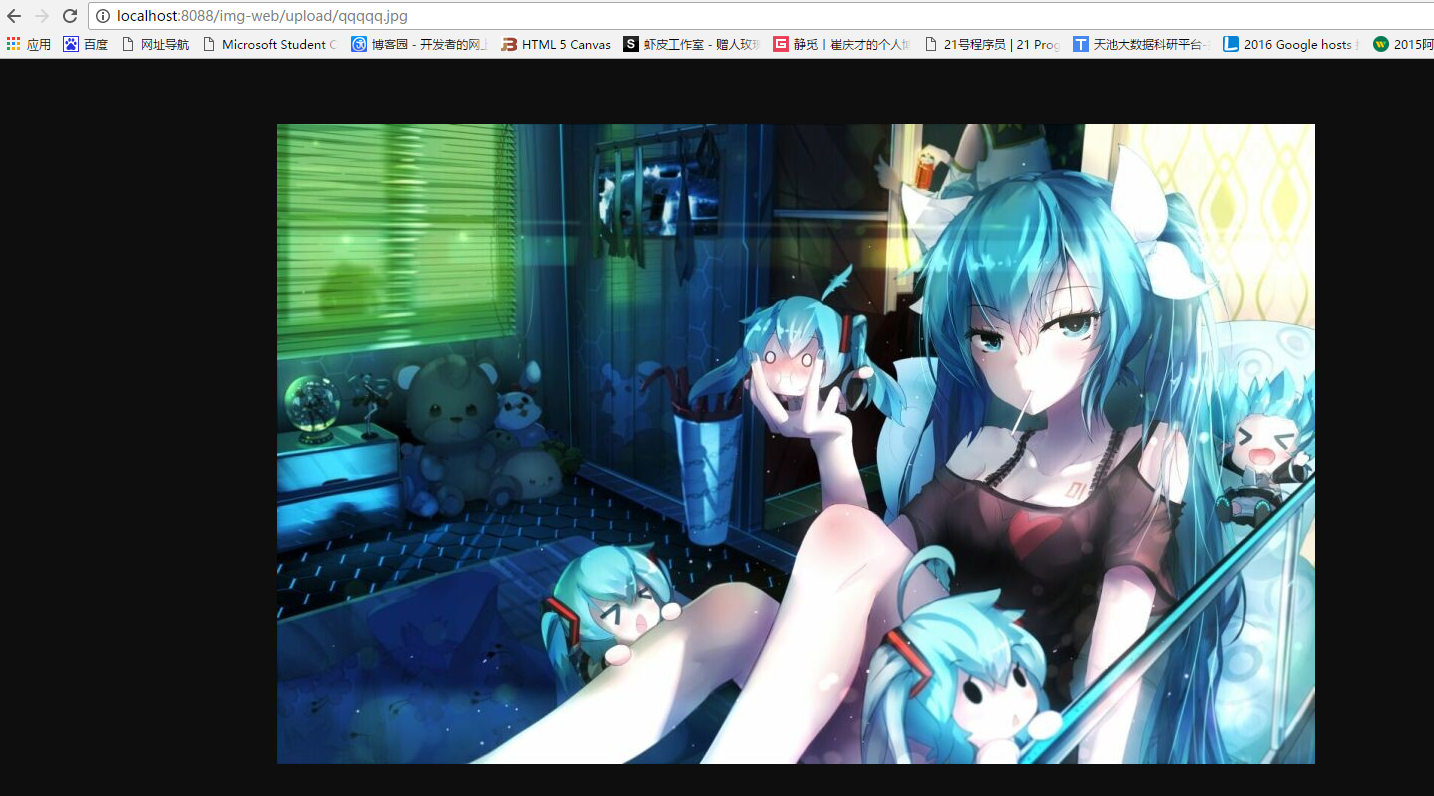
在这里,我把我本地的图片发送到了第二台tomcat上。然后我可以直接通过网址访问该图片,如下:

同理,在web项目中,我们写一个Controller,在写之前我先把需要的工具类写一个,利用response发送不同类型的数据。


package cn.darrenchan.common.web;import java.io.IOException;import javax.servlet.http.HttpServletResponse;public class ResponseUtils { //发送内容 public static void render(HttpServletResponse response, String contentType, String text){ response.setContentType(contentType); try { response.getWriter().write(text); } catch (IOException e) { e.printStackTrace(); } } //发送json public static void renderJson(HttpServletResponse response, String text){ render(response, "application/json;charset=utf-8", text); } //发送xml public static void renderXml(HttpServletResponse response, String text){ render(response, "text/xml;charset=utf-8", text); } //发送text public static void renderText(HttpServletResponse response, String text){ render(response, "text/plain;charset=utf-8", text); }}
重点在于Controller。
package cn.darrenchan.core.controller;import java.io.File;import java.io.FileInputStream;import java.io.FileNotFoundException;import java.io.IOException;import java.util.UUID;import javax.servlet.http.HttpServletResponse;import org.apache.commons.io.FileUtils;import org.apache.commons.io.FilenameUtils;import org.json.JSONObject;import org.springframework.stereotype.Controller;import org.springframework.web.bind.annotation.RequestMapping;import org.springframework.web.bind.annotation.RequestParam;import org.springframework.web.multipart.MultipartFile;import com.sun.jersey.api.client.Client;import com.sun.jersey.api.client.ClientHandlerException;import com.sun.jersey.api.client.UniformInterfaceException;import com.sun.jersey.api.client.WebResource;import cn.darrenchan.common.web.ResponseUtils;/** * 上传图片 * * @author chenchi * */@Controllerpublic class UploadController { // 上传图片,false表示不上传也可以不报错 @RequestMapping(value = "/upload/uploadPic.do") public void uploadPic(@RequestParam(required = false) MultipartFile pic, HttpServletResponse response) { // 图片名称生成策略 UUID uuid = UUID.randomUUID(); // 获取图片的扩展名 String extension = FilenameUtils.getExtension(pic.getOriginalFilename()); // 实例化一个jersey Client client = new Client(); // 保存到数据库的path String path = "upload/" + uuid + "." + extension; // 另一台tomcat的URL String url = "http://localhost:8088/img-web/" + path; // 设置请求路径 WebResource resource = client.resource(url); // 发送开始post get put(基于put提交) try { resource.put(String.class, pic.getBytes()); } catch (IOException e) { e.printStackTrace(); } //返回两个路径 JSONObject jo = new JSONObject(); jo.put("url", url); jo.put("path", path); ResponseUtils.renderJson(response, jo.toString()); System.out.println(pic.getOriginalFilename());// afsdfdsfsd.jpg System.out.println(111); }} 6.将path路径保存到数据库中
补充:
1.
2.select的写法
3.EL表达式中的三元运算符
${entry.isDisplay == 0 ? '不是':'是' } 4.jsp中获取项目名称
action="${pageContext.request.contextPath}/brand/edit.do"
如果报错,就将jsp-api.jar和servlet-api.jar 一起添加到项目中,这两个jar包在tomcat的lib文件夹下可找到。
5.jsp模板
<%@page pageEncoding="utf-8"%>登录 login successfully!
${message}
${username}
${password }
6. 利用<a>标签做删除
7.传统JSP写法
<% if (session.getAttribute("userName") != null){ %> 欢迎: <%= session.getAttribute("userName") %> 注销 <% }else{ %> 请先登陆 登陆 <% } %> 等价于
if (session.getAttribute("userName") != null) { out.write("\r\n"); out.write(" 欢迎: "); out.print( session.getAttribute("userName") ); out.write("\r\n"); out.write(" 注销\r\n"); out.write(" \r\n"); out.write(" "); } else { out.write("\r\n"); out.write(" 请先登陆\r\n"); out.write(" 登陆\r\n"); out.write(" "); } out.write("\r\n"); out.write("\r\n"); out.write(" "); <%=变量 %> 是 <% out.println(变量) %> 的简写方式